Creating a Relevant Package.swift for Your Project
Creating a Relevant Package.swift for Your Project
When working on a Swift project, having a Package.swift file is essential for managing your dependencies and defining your project’s structure.
Here is a simple guide on how to create a Package.swift file that suits your project’s needs.
Step 1: Creating the File
To create a Package.swift file, navigate to your project directory and run the following command:
Step 2: Defining your Package
Open the Package.swift file in your favorite text editor. Define your package by specifying its name, targets, dependencies, and other relevant details. Here’s an example:
import PackageDescription
let package = Package(
name: “YourPackageName”,
platforms: [
.iOS(.v12),
.macOS(.v10_15),
.tvOS(.v12),
.watchOS(.v5)
],
products: [
.library(name: “YourLibraryName”, targets: [“YourTarget”])
],
dependencies: [
// Add your dependencies here
],
targets: [
.target(name: “YourTarget”, dependencies: [])
]
)
Step 3: Adding Dependencies
If your project relies on external dependencies, you can add them to the dependencies section of your Package.swift file.
For example, if you want to add Alamofire as a dependency, you can do so like this:
.package(url: “https://github.com/Alamofire/Alamofire.git”, from: “5.2.2”)
]
Step 4: Building Your Project
After defining your package and dependencies, you can build your project by running the following command in your project directory:
By following these steps, you can create a Package.swift file that is relevant to your project and helps in managing dependencies effectively.


-
01
How do I choose the right speed for a toas bread packaging line to avoid crushing soft loaves?
22-06-2026 -
 02
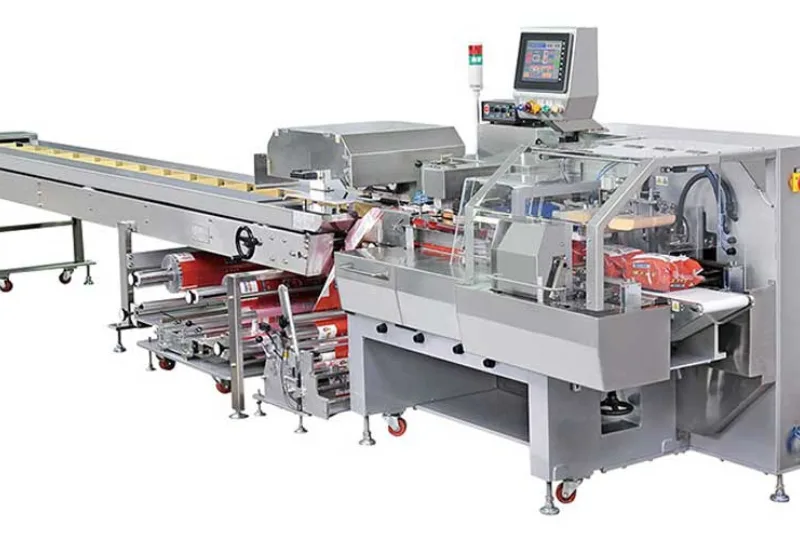
02Packaging Machinery: Beyond Sealing, Driving an Efficient, Smart, and Sustainable Future
21-01-2026 -
 03
03Automatic Tray Loading and Packaging Equipment: Boost Efficiency to 160 Bags/Minute
21-11-2025 -
 04
04Automatic Soap Packaging Machine: Boost Productivity with 99% Qualification Rate
21-11-2025 -
 05
05A Deep Dive into Automatic Toast Processing and Packaging System
18-11-2025 -
06
The Future of Bakery Production: Automated Toast Processing and Packaging System
18-11-2025 -
 07
07Reliable Food Packaging Solutions with China Bread, Candy, and Biscuit Machines
11-10-2025 -
 08
08High-Performance Automated Food Packaging Equipment for Modern Production
11-10-2025 -
09
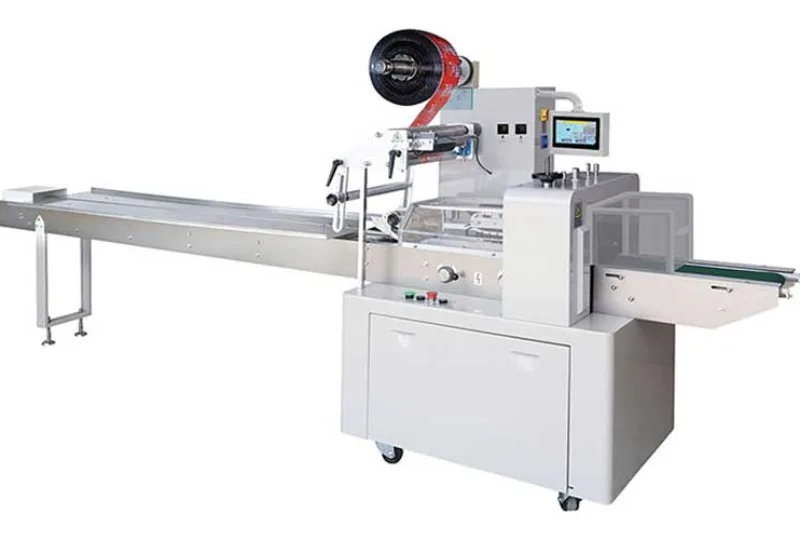
Reliable Pillow Packing Machines for Efficient Packaging Operations
11-10-2025 -
 10
10Advanced Fully Automatic Packaging Solutions for Efficient Production
11-10-2025
