Setting Up and Calibrating Your Wafer Packing Machine- A Guide
Setting Up and Calibrating Your Wafer Packing Machine: A Comprehensive Guide
Introduction:
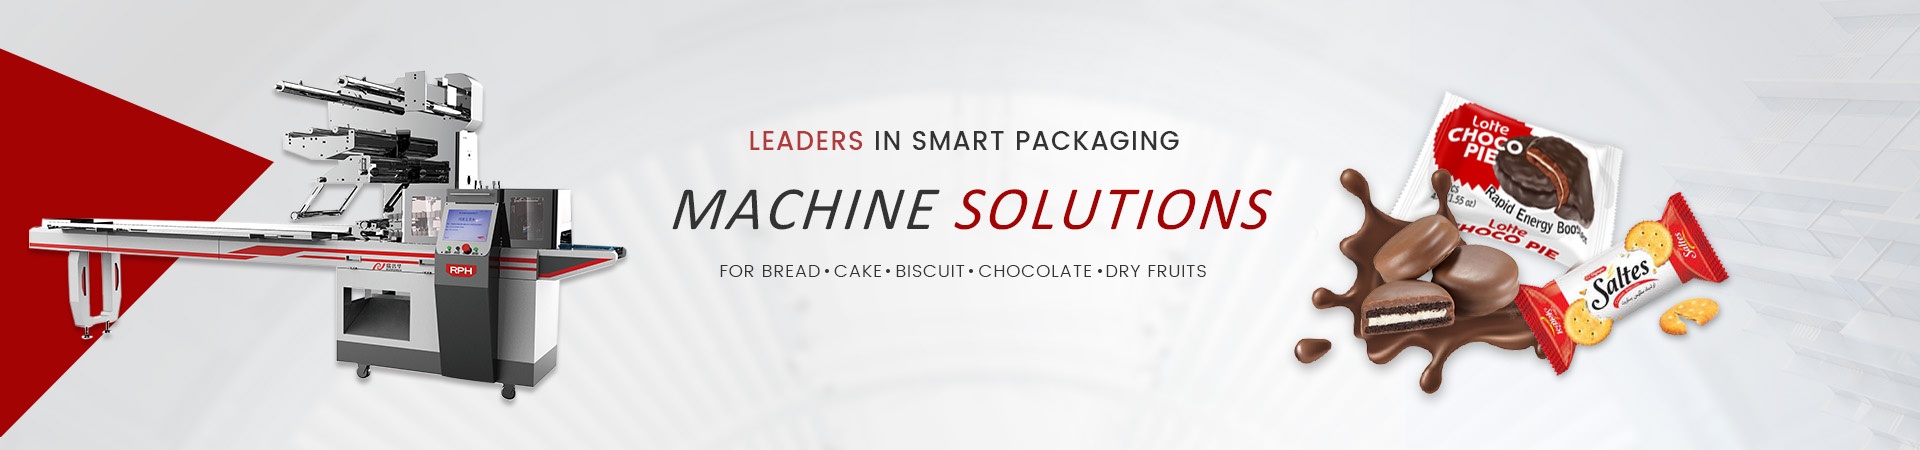
In the realm of semiconductor manufacturing, precision and efficiency reign supreme. The wafer packing machine stands as a crucial component, ensuring the safe and reliable transport of delicate wafers. Setting up and calibrating this sophisticated device requires utmost care and meticulous attention. This comprehensive guide will empower you with the knowledge and techniques necessary to optimize your wafer packing process.
Step 1: Assembly and Installation
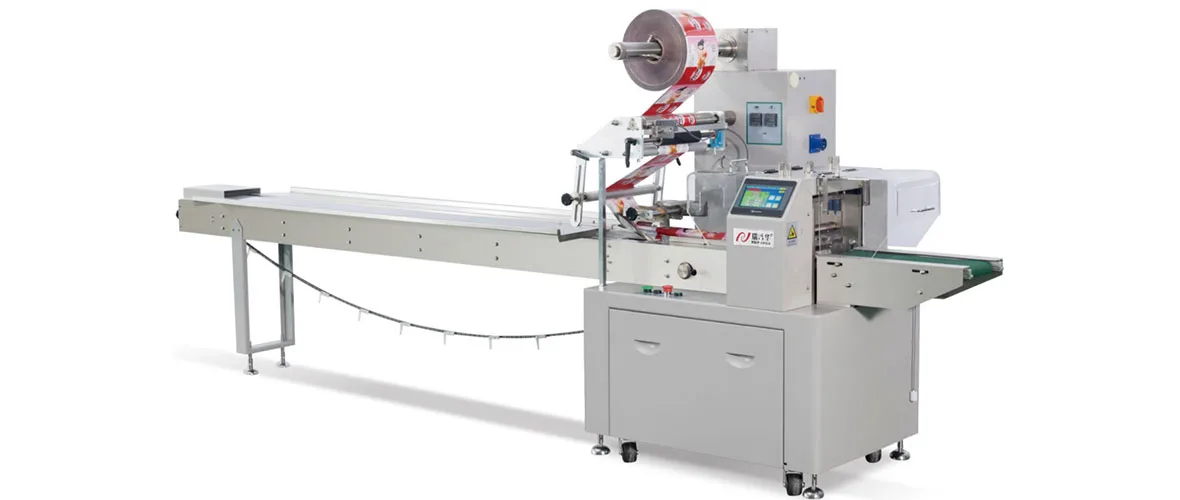
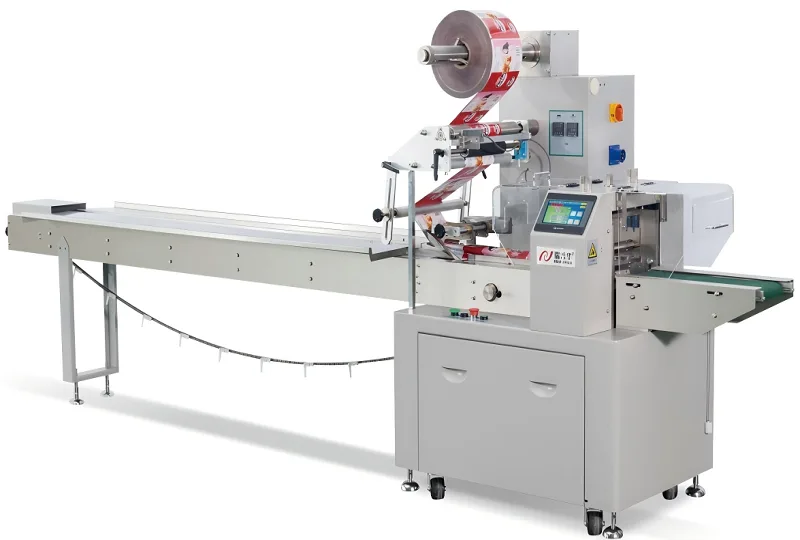
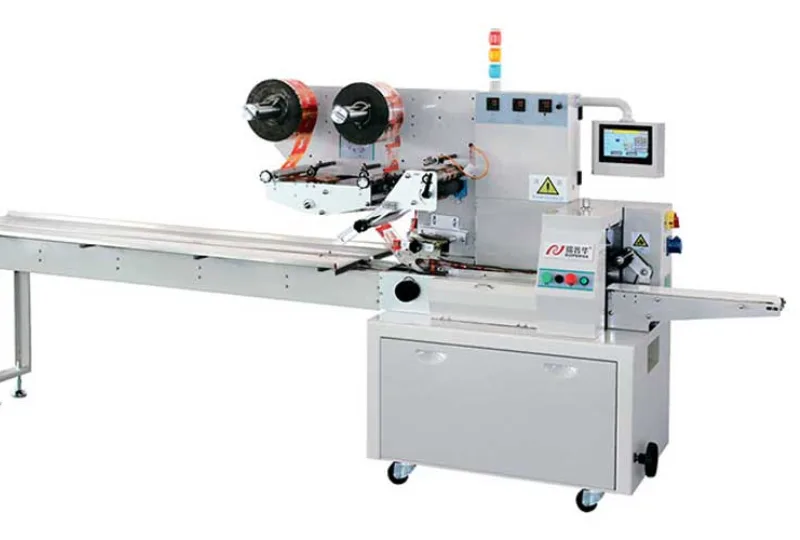
With the utmost care, assemble the components of your wafer packing machine according to the manufacturer’s instructions. Secure each part firmly, ensuring proper alignment and functionality. Position the machine in a stable environment, free from vibrations and excessive noise.
Step 2: Electrical Connections
Establish all electrical connections meticulously. Verify the voltage requirements and connect the appropriate power supply. Ensure proper grounding to prevent electrostatic discharge. Configure the machine’s control system, including software and user interface.
Step 3: Pneumatic Setup
Connect the pneumatic system, including air lines and regulators. Adjust the air pressure according to the machine’s specifications. This will control the pneumatic actuators responsible for wafer handling and packing.
Step 4: Mechanical Calibration
Mechanical calibration involves fine-tuning the machine’s physical components. Align the wafer pickup nozzle with the center of the wafers. Adjust the wafer gripper to ensure a secure hold without damaging the wafers. Calibrate the wafer transfer mechanism for smooth and precise movement.
Step 5: Vision System Configuration
The vision system plays a vital role in detecting wafers and aligning them correctly. Configure the cameras, lighting, and software to optimize image acquisition and processing. Calibrate the system to accurately locate wafers and guide the machine’s actions.
Step 6: Calibration of Wafer Parameters
Enter the appropriate wafer parameters into the machine’s control system, including wafer thickness, size, and material. This information ensures that the machine packs wafers safely and efficiently.
Step 7: Test and Validation
Once the calibration is complete, conduct a thorough testing process. Pack a test batch of wafers and inspect them for any defects or inconsistencies. Adjust the machine settings as needed to achieve optimal results.
Conclusion:
By following the steps outlined in this guide, you can confidently set up and calibrate your wafer packing machine, ensuring its precision and reliability. Your production line will reap the benefits of increased efficiency, reduced defects, and enhanced product quality. Remember, meticulous attention to detail and a commitment to continuous improvement will empower you to maximize your wafer packing operation.


-
01
How do I choose the right speed for a toas bread packaging line to avoid crushing soft loaves?
22-06-2026 -
 02
02Packaging Machinery: Beyond Sealing, Driving an Efficient, Smart, and Sustainable Future
21-01-2026 -
 03
03Automatic Tray Loading and Packaging Equipment: Boost Efficiency to 160 Bags/Minute
21-11-2025 -
 04
04Automatic Soap Packaging Machine: Boost Productivity with 99% Qualification Rate
21-11-2025 -
 05
05A Deep Dive into Automatic Toast Processing and Packaging System
18-11-2025 -
06
The Future of Bakery Production: Automated Toast Processing and Packaging System
18-11-2025 -
 07
07Reliable Food Packaging Solutions with China Bread, Candy, and Biscuit Machines
11-10-2025 -
 08
08High-Performance Automated Food Packaging Equipment for Modern Production
11-10-2025 -
09
Reliable Pillow Packing Machines for Efficient Packaging Operations
11-10-2025 -
 10
10Advanced Fully Automatic Packaging Solutions for Efficient Production
11-10-2025
